"It really does look good on every body" Stephanie B.
First of all, I send a huge thank you to MDK for inviting me, and to everyone who participated in the Shakerag Conversation on Monday (13 May 2024), so much FUN! After going through the pages of chat notes I highlighted a LOT of questions that slid by without a solid answer - I'll update this as more questions come up.
Also - keep an eye on the Lounge conversation.
Where does the name Shakerag come from?
I cannot begin to tell the story the way our beloved Claire Reishman does, but here's how I remember it-
The site of Shakerag is in a holler. During prohibition, but perhaps anytime a person might want some moonshine, they'd walk down to a particular stump, lay down their money and shake the rag left there to alert the lookout to complete the exchange. Cheers.
💓From JM : "I
wore my Shakerag Skirt while hiking in Hawaii last summer. 85 degrees and hiking uphill. Super
comfy, no stretch that I noticed, and (confession here): sweat marks didn’t show, unlike on my
poorly chosen t-shirt."
Questions and Answers
EASE/SIZING
The given measurements are the measurements of the knitted fabric, you decide your ease. I have both body skimming and more flowing skirts, each is wonderful and has its own advantage.
Using your LARGEST measurement and hip-to-waist ratio
Do measure at and make note your largest circumference. If your waist is larger than your hips you may not want to make an A-line, and can adjust for a pencil style. Email me with your specifics and I will add recommendations to this post.
Making fewer decreases for a larger waist
Begin with the decreases for your size and stop when you arrive at the measurement for the waist that you want to achieve, ie, how to make a size 4 hip with a size 6/7 waist. You would work 3 or 4 sets of decreases working from 240 stitches to either 204/224 stitches. The decreases will cover just 3 -4"/7.5-10 cm, would your shaping look better with wider spacing between each set? Choose what will work best for your body - this leads me to:
Using a favorite skirt as a template!
Choose a skirt with a similar weight fabric and remember that if your skirt has either a zipper or buttons rather than elastic, your knitted skirt must have a larger waist. The fabric and the elastic band will allow for a more fitted fit.
and fitted to my favorite jersey skirt.
22 March 2022
Make the decreases/increases to follow the slope of the hip to waist/waist to hip
My new favorite skirt is now the template for the Shakerag skirt.
Although I prefer knitting a skirt from the waistband down (more on that later)
the undulation of the lace edge works best from the cast on up.
Shortening the waist
To use the same number of decreases, but need a shorter hip to waist depth omit a decrease made on the 10th round and include another decrease on the 4th (or even 3rd) round. That will omit 1" of depth...
At 7 rounds per inch, the depth between decreases:
4 > ½"
5 < ¾"
6 > ¾"
7 = 1"
8 < 1 ¼"
9 > 1 ¼"
10 < 1 ½"
11 > 1 ½"
12 < 1 ¾"
13 > 1 ¾"
POCKETS - We Need Them.
Measure your phone, keys, lip care product, etc. I estimate a 10”/25.5 cm circumference. Multiply by 5.5 and then adjust for your border pattern or leave as is for stockinette. Work in the round to make a tube to the desired depth.
Add a flap, or button loop… Also, make and attach ties to go around your waist or as a shoulder bag. (WIP)
Patch Pocket, knit with the same needles as your skirt.
This sample I'm still on the fence about loving, but the pocket has potential.
I'llreallign it to the center of a panel and not over the decrease column
to allow it to lay flatter to my body.
Cast on 32 stitches , purl 1 row, knit 1 row
Right Side (RS) - Knit across.
Wrong Side (WS) - Knit 1, purl to the last stitch, knit 1.
Repeat to the desired depth (less than the 1½ "/3.75 cm shaping, below)
Shape
RS - Knit 1, K2tog, knit to last 3 stitches, ssk, knit 1
WS - Knit 1, P2tog, purl to last 3 stitches, ssp, knit 1
Repeat 4 more times.
Bind off purl wise on the RS.
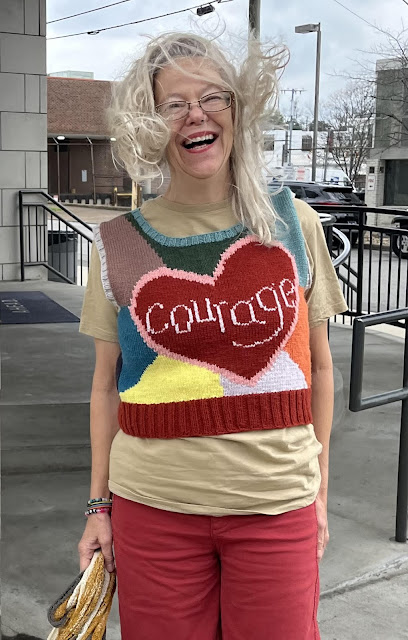
How do I make this skirt for my 71 year old body?
Be like our Pennieb
How does it look with Athletic Shoes?
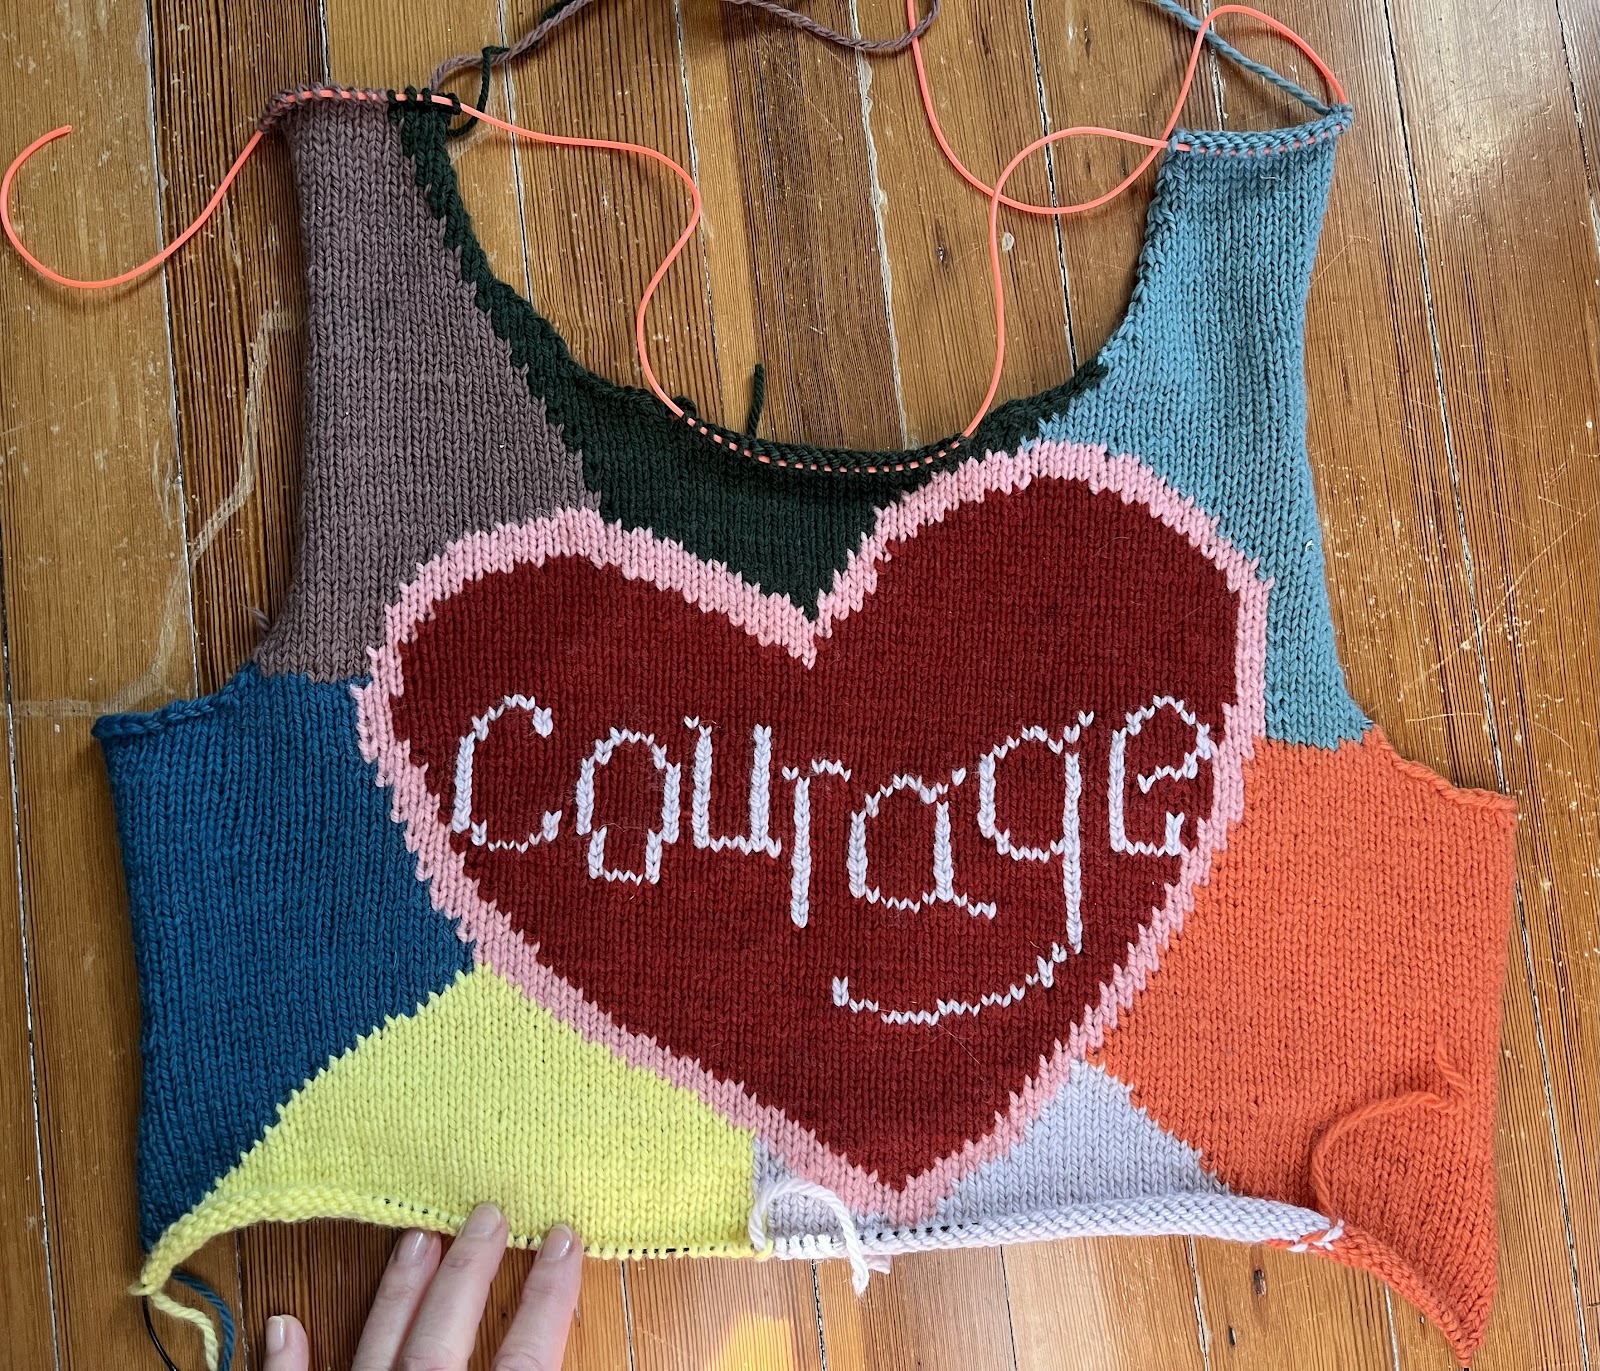
The Vibrato Tee, which has the same lace border as the skirt, preceded the skirt and yet, is only nearly finished, it was abandoned when life took a turn last fall, and my focus was needed elsewhere.
I'm back on it, let me know if you need the pattern now, email me and I'll send you a copy!
Yarn Options -
Shakerag was written for Creative Linen, but 100% Linen is a YES!
Note that you can pre-soak your unwound skeins to soften the fibers, but be sure to wash all of the yarn that you expect to use.
Length options
<In the works>
Kay's Border
Cord Vendors
Search "Barber Cord" for a handy aluminum tin with 3 cords of varying lengths.
Search “2mm with 1mm hole rubber tube cord” for a spool.
nellknits@gmail.com


